Your Cart is Empty
Best for tapestries, flat decorative hangings, and installations that need to remain close to the wall.
Check carefully for projecting trim, shutters, blinds, and handles before choosing this shallow depth.

The Support Behind a Beautiful Window
Drapery brackets may be one of the quieter details in a window treatment, but they determine how securely the rod is supported, how far the fabric hangs from the wall, and whether the curtains can move as intended.
Choosing the right bracket begins with four questions: What size rod are you using? How far should it project from the wall? How heavy is the treatment? And do the rings need to move past a center support?

Distance from the Wall
Projection describes how far the curtain rod sits away from the wall. The correct depth allows the fabric to clear window trim, blinds, shades, and any underlying treatment without being pushed outward or compressed against the wall.
Best for tapestries, flat decorative hangings, and installations that need to remain close to the wall.
Check carefully for projecting trim, shutters, blinds, and handles before choosing this shallow depth.
The most common choice for a single layer of drapery, especially when there is no deep shade or blind behind it.
It provides enough separation for most panels while keeping the treatment visually connected to the window.
Used for layered window treatments, deep trim, shades, blinds, or other situations requiring generous wall clearance.
It is also useful when the outer drapery must hang in front of a separate sheer or inner rod.
Support for the Complete Treatment
Larger rods and heavier treatments require stronger brackets. Bracket selection should account for the combined weight of the rod, finials, rings, fabric, lining, and any layered treatment.
Appropriate for many lighter and medium-weight treatments when used with the correct rod size and proper spacing.
Reinforced with an additional support arm for heavier fabrics, lined panels, larger rods, and wider spans.
Always choose a bracket cup made for the exact rod diameter. A bracket intended for a smaller or larger rod will not provide the proper fit.
Blackout lining, interlining, velvet, and full-length layered panels can add considerable weight even when the window is not especially wide.
A rod mounted six inches from the wall places more leverage on the bracket than one mounted closer to the wall. Deep, heavy treatments may need reinforced support.
Even the strongest bracket can only perform properly when it is attached securely to framing, blocking, or another suitable structural surface.
Matching the Mount to the Window
Most treatments use wall-mounted brackets, but ceiling, inside-mount, double-rod, and bypass designs solve different installation and functional needs. Choose the style first, then select the projection, rod diameter, and strength appropriate for the treatment.
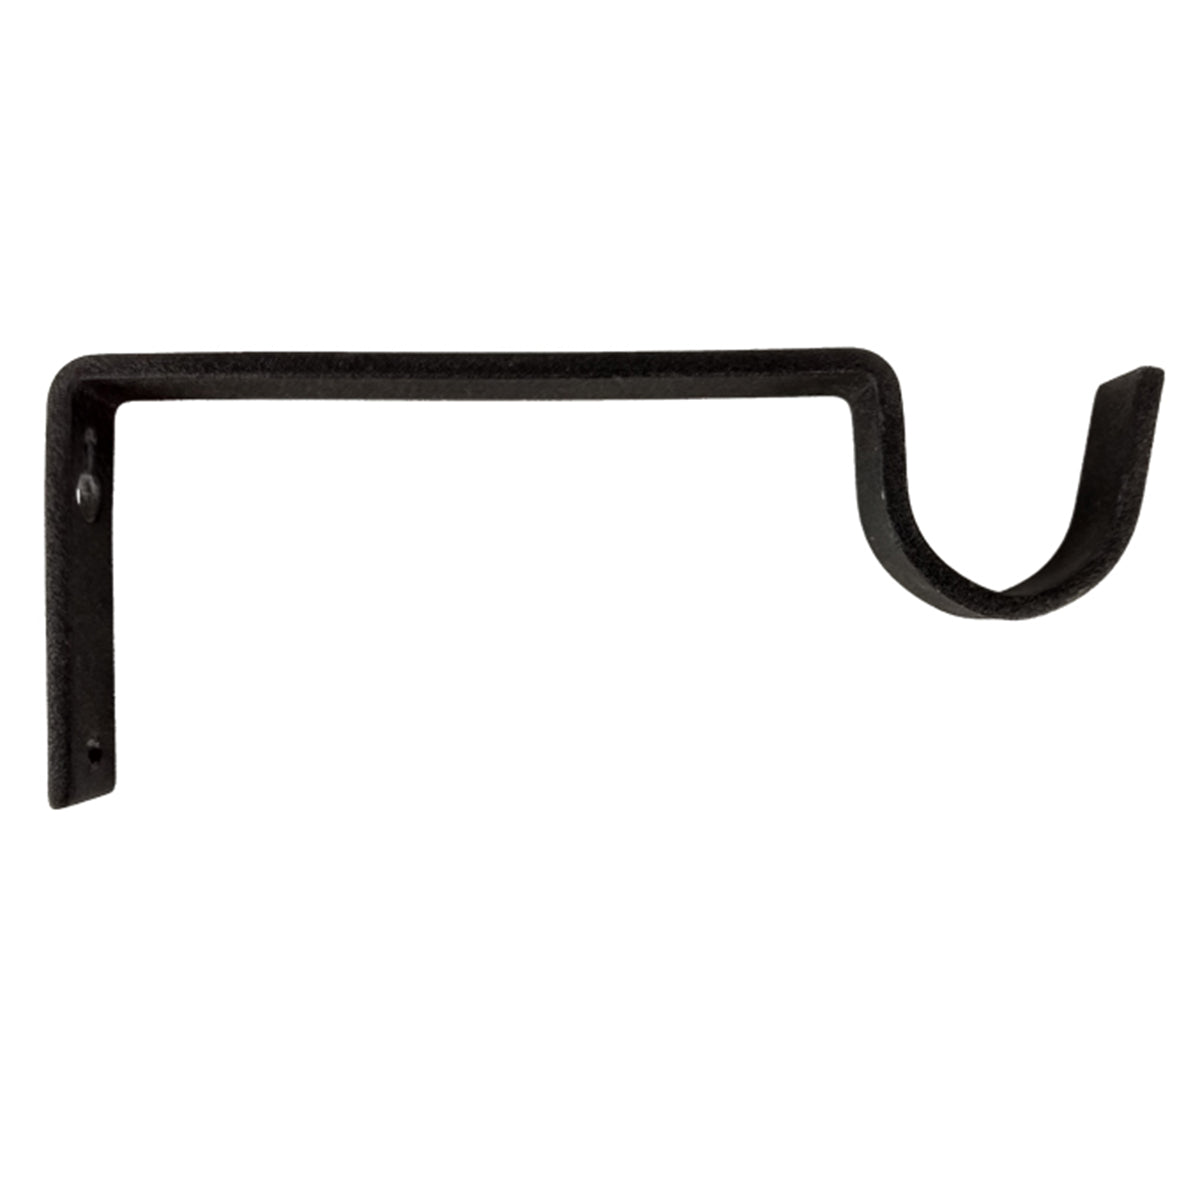
The Everyday Choice
Standard brackets support a single rod above and outside the window frame. They are available in several projections and rod sizes for lighter and medium-weight treatments.
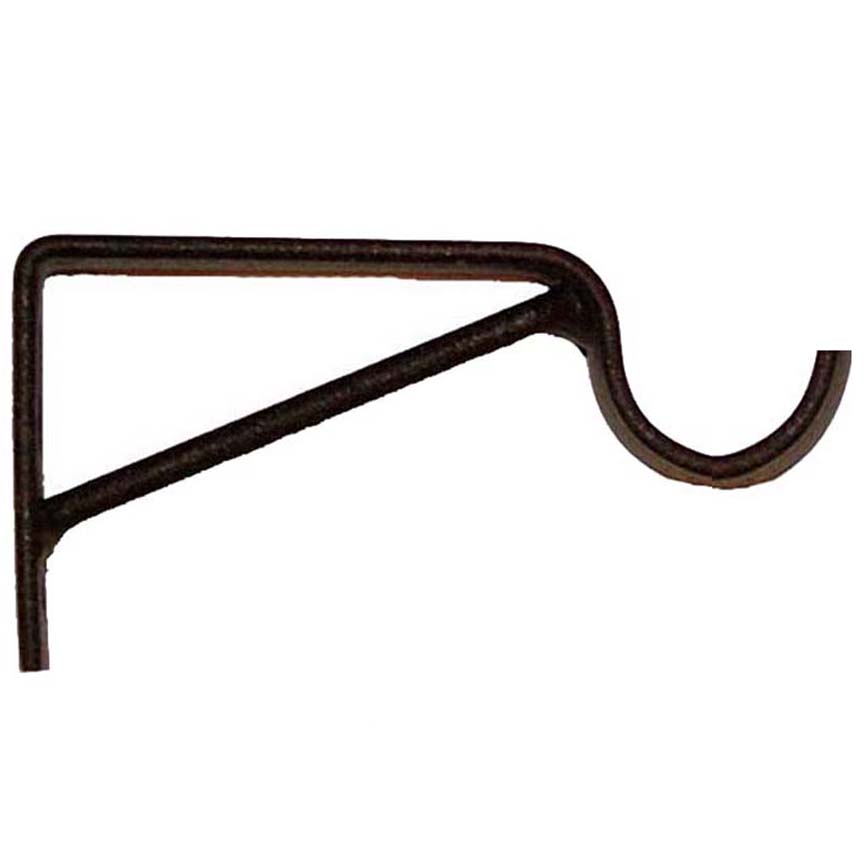
Reinforced Support
Heavy-duty brackets include an additional support arm to help carry larger rods, deeper projections, lined panels, and more substantial treatments.
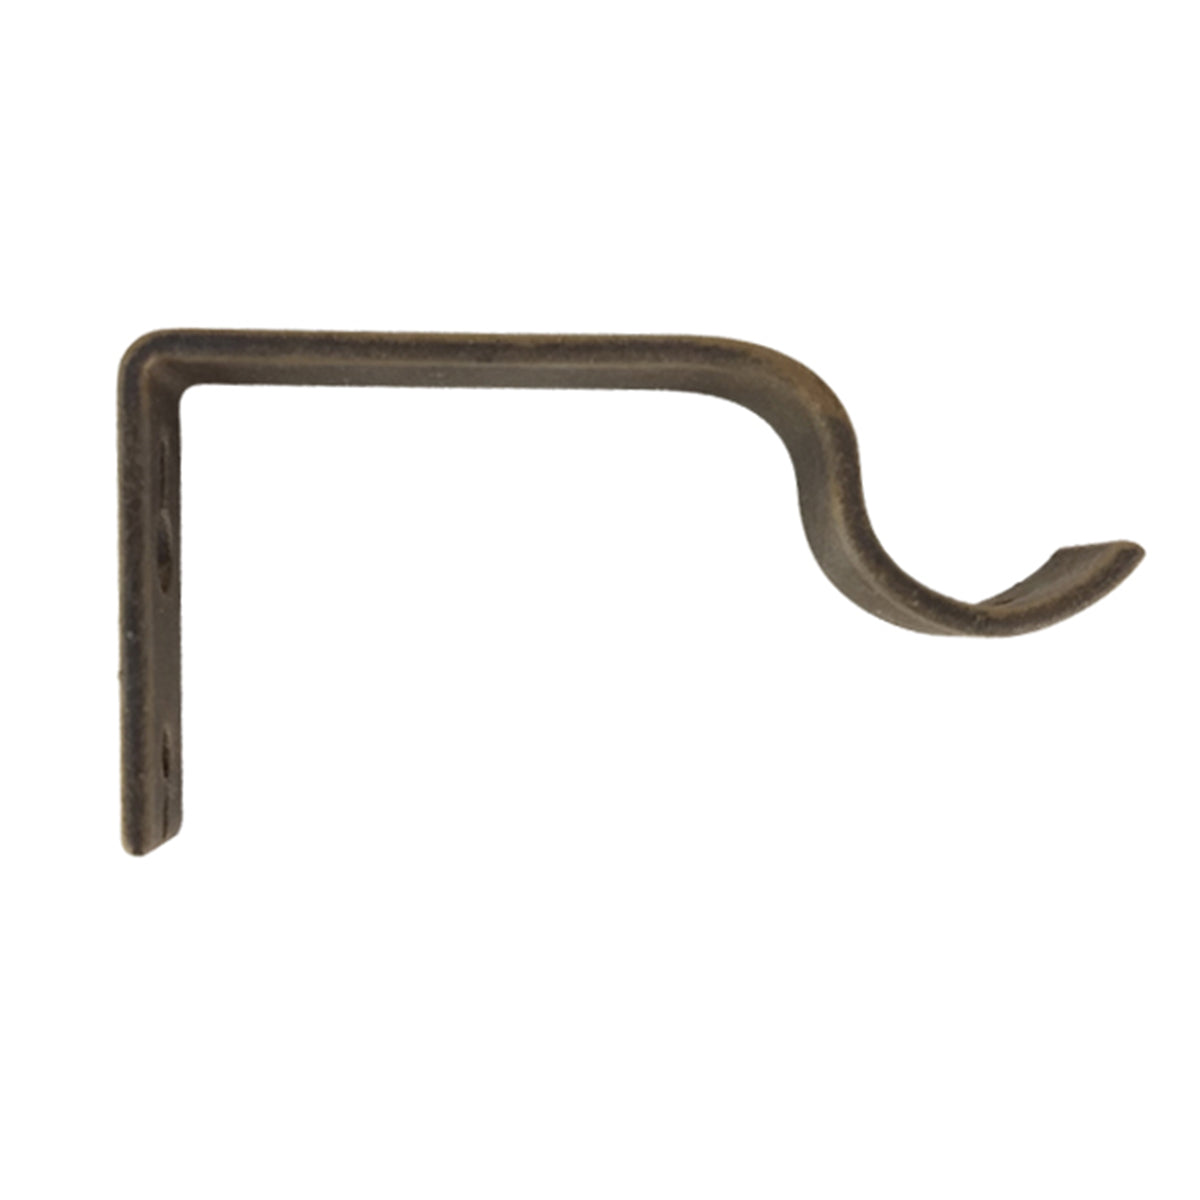
For Moving Past a Support
A Magic bracket has an open support shape that allows compatible Magic C rings to move past the bracket. It is used when the drapery must travel across a supported span.
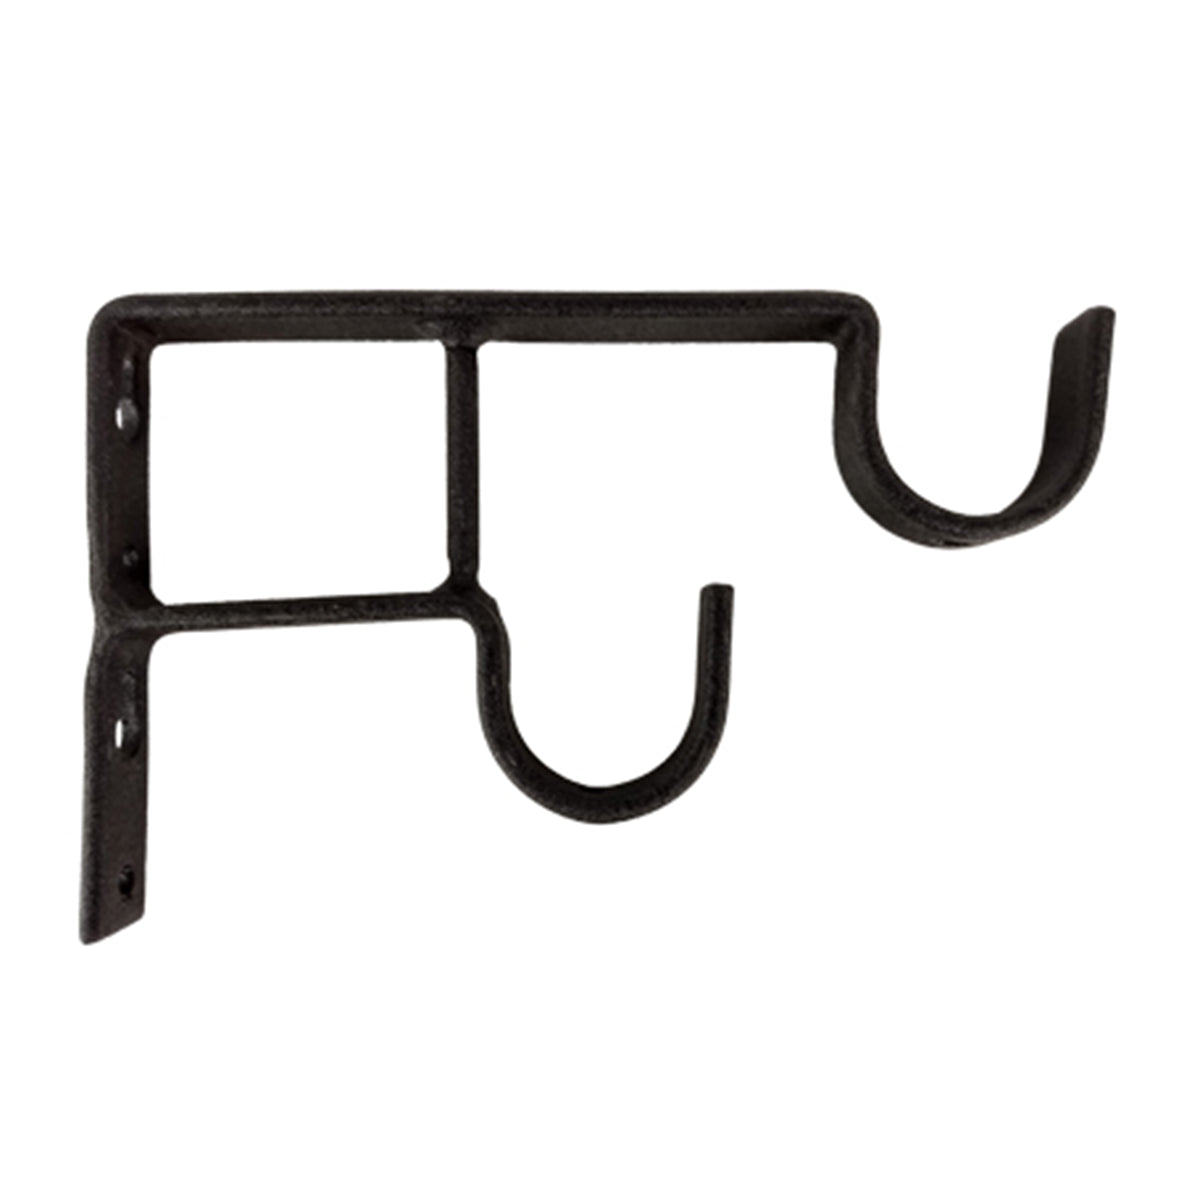
For Layered Treatments
Double brackets support two rods at different depths, allowing a sheer or light-filtering panel to sit behind the outer decorative drapery.
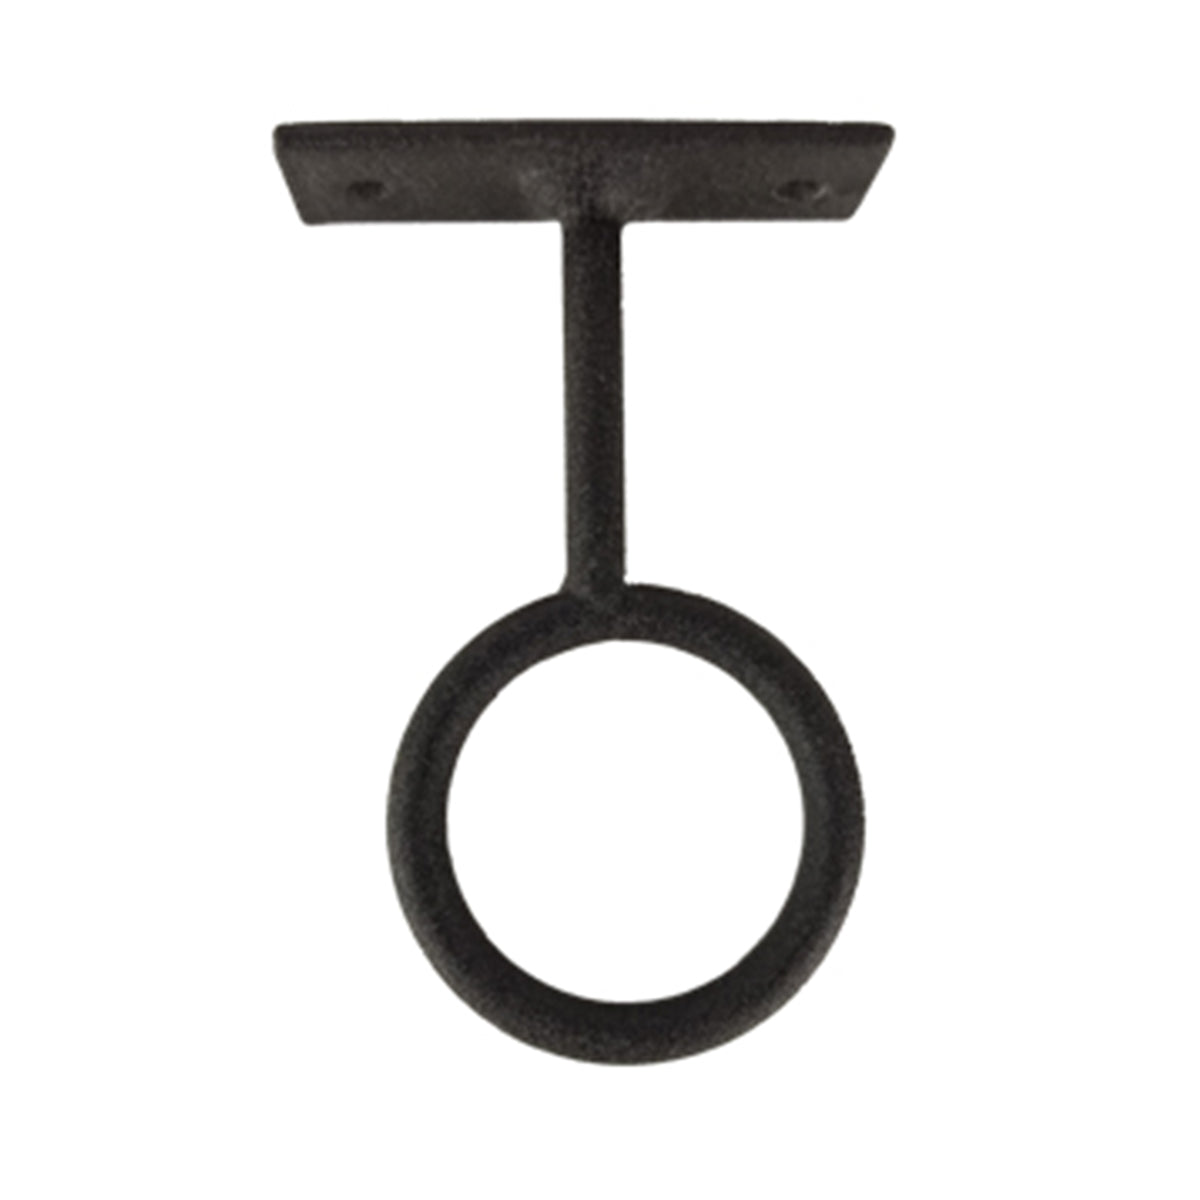
Support from Above
Ceiling brackets suspend the curtain rod from above when wall mounting is unavailable or when the design calls for a taller, more architectural installation.
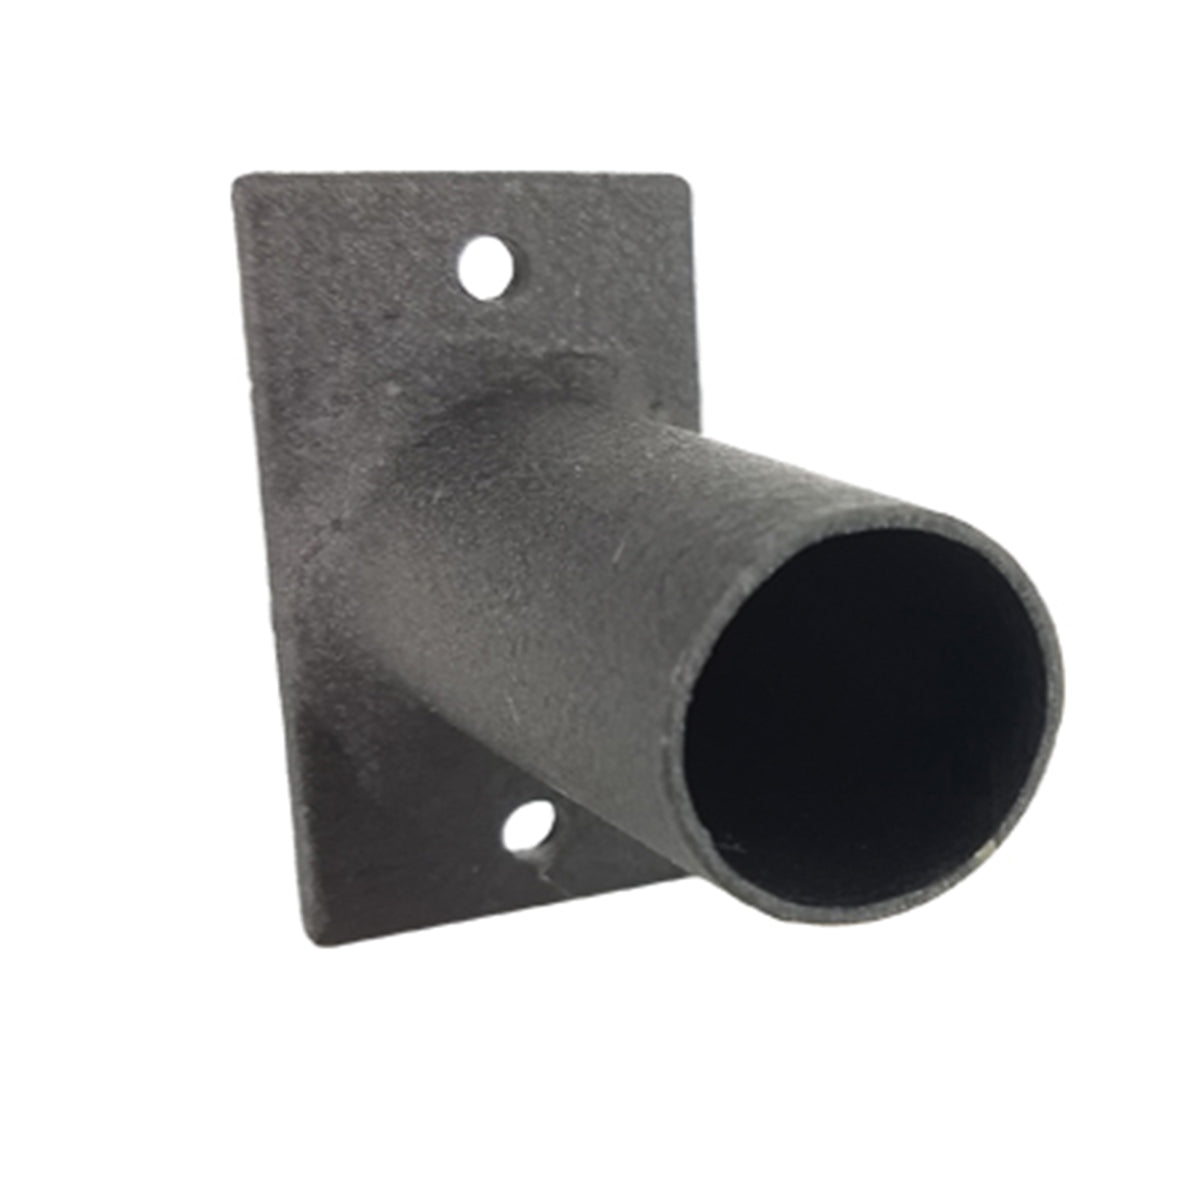
A Tailored Built-In Fit
Inside brackets secure the ends of the rod between two opposing jambs, walls, or the sides of an alcove rather than supporting the rod from beneath.
Plan How the Curtains Will Move
The correct center bracket depends on whether the drapery stops at the support or must travel past it.
Supporting the Span
Brackets should be spaced closely enough to prevent the rod from bowing under the combined weight of the hardware and fabric.
This creates a bracket at each outer end and additional support so no unsupported section is longer than approximately 72 inches.
Often suitable for shorter rods with lighter treatments when the full span remains within the recommended unsupported distance.
Common for wider windows, with one bracket at each end and one center support.
Used for long walls, multiple rod sections, heavy treatments, or installations requiring additional seam support.
Before the Hardware Is Ordered
Decide where the rod will sit above the window and mark a level installation line. Consider the ring drop, drapery heading, and finished panel length.
Position the outer supports far enough beyond the window to provide curtain-stacking space while allowing room for the finials.
Divide the remaining span so no section exceeds the planned maximum distance. When possible, align support brackets with rod seams.
Confirm that every bracket can be attached to appropriate framing, blocking, or another suitable structural surface. Decorative trim alone may not provide enough support.
Decide where each panel needs to open and close. Use standard brackets where the panel stops and Magic bypass supports where compatible rings must pass.
Verify that the front of the fabric clears trim, shades, blinds, handles, and any inner layer before ordering the final bracket projection.
Before Ordering
Common Questions
Projection is the distance the bracket holds the rod away from the wall. It determines how much space is available for trim, shades, blinds, and layered fabric.
A 3-inch projection is the most common choice for a single layer of drapery. A 1.5-inch projection is used for flatter applications, while 6 inches provides room for deeper or layered treatments.
Approximately 72 inches is a useful general starting point, but heavier fabric, smaller rods, and deeper projections may require closer bracket spacing.
Using the general formula, 120 divided by 72 equals 1.67. Round up to two spans and add one bracket, for a starting total of three brackets.
No. Standard closed rings stop at a center support. Use compatible Magic C rings with a Magic bypass bracket when the drapery must travel across the support.
Choose reinforced brackets for larger rods, heavy or lined fabric, deep projections, wider spans, and substantial layered treatments.
Double brackets hold two rods at different depths, usually with sheers or a light-filtering treatment behind decorative outer panels.
Ceiling brackets are useful when wall mounting is unavailable, when windows extend close to the ceiling, or when a treatment needs to span an open area.
The correct mounting method depends on the hardware weight, treatment weight, and wall construction. For substantial custom drapery, secure attachment to framing or properly installed blocking is strongly preferred.
Include the rod diameter and length, bracket projection, treatment weight, number of fabric layers, window width, mounting surface, and whether the rings must pass any center support.
Quiet Support, Lasting Difference
The right brackets keep the rod level, give the fabric room to hang naturally, and allow the panels to move as planned. Match the rod diameter first, then confirm projection, strength, bracket quantity, and ring movement.
For especially wide windows, heavy drapery, layered rods, or unusual mounting conditions, review the full hardware plan before placing the order.